

很多的朋友们在使用Adobe Premiere Pro CS6软件的时候,想要使用多机位剪辑视频,但是又不熟剪辑的方法?今日在这里就为你们带来了Adobe Premiere Pro CS6使用多机位剪辑视频的具体操作步骤。
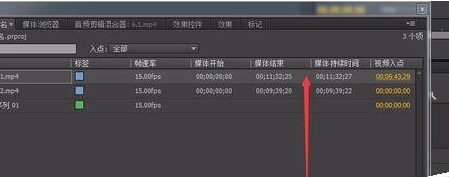
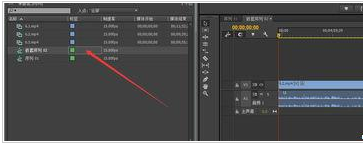
把不同机位的素材,拖到不同的轨道上,
然后选择所以素材,右击选择同步!
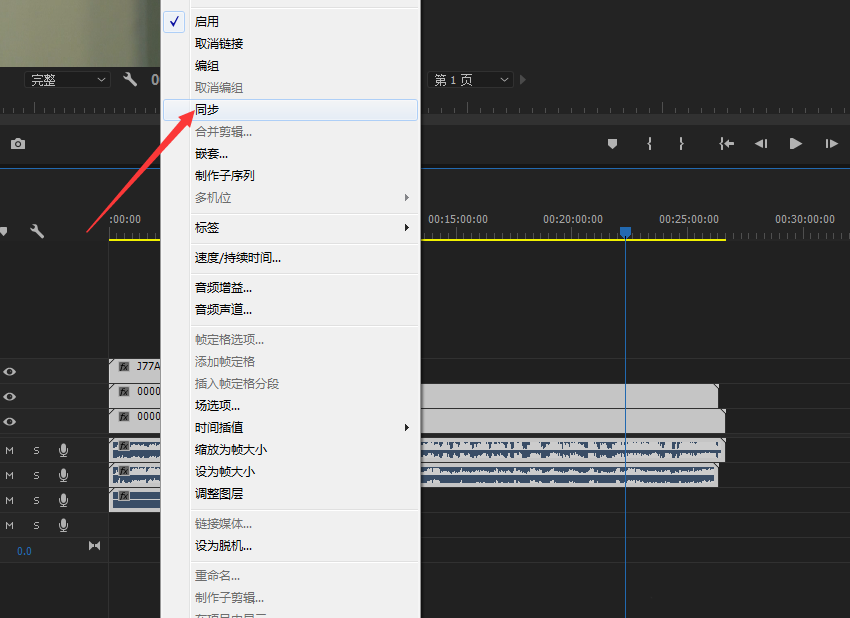
接着选择同步后,让你选择音轨,选择就觉得最好的音轨,
如图就在同步了,同步就是拍摄中间部分断的,它都能给你同步到一起,
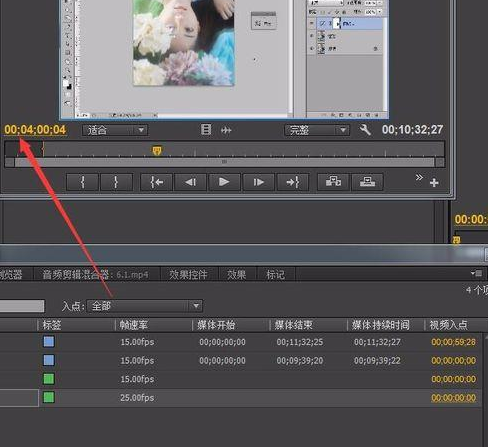
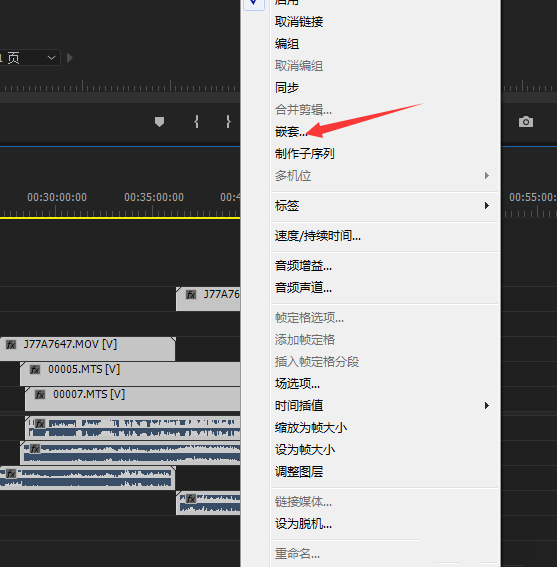
同步后,右击选择嵌套,嵌套之后就变成一条轨道上面的素材,
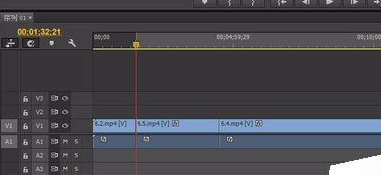
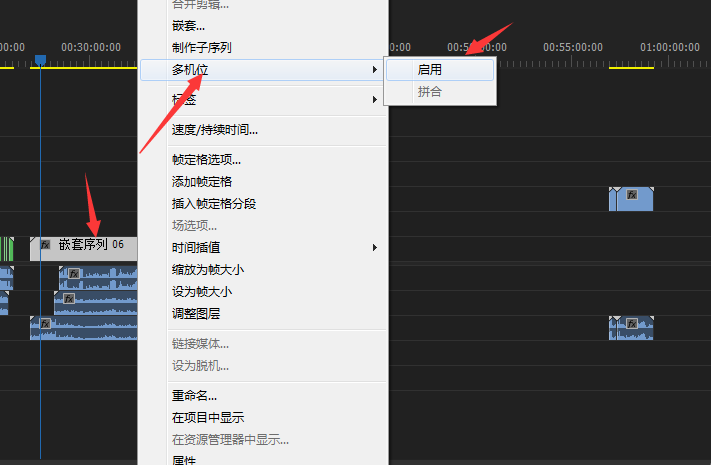
然后在右击素材,选择多机位选择启用,
最后这样你就能在播放窗口看到多机位的素材,剪辑也很方便,用鼠标点击窗口就可以了,之后稍作修剪,希望能够帮到大家!
按照上文为各位讲解的Adobe Premiere Pro CS6使用多机位剪辑视频的具体操作步骤,你们应该都有所了解了吧!
 超凡先锋
超凡先锋 途游五子棋
途游五子棋 超级玛丽
超级玛丽 口袋妖怪绿宝石
 地牢求生
地牢求生 原神
原神 凹凸世界
凹凸世界 热血江湖
热血江湖 王牌战争
王牌战争 荒岛求生
荒岛求生 植物大战僵尸无尽版
 第五人格
第五人格 香肠派对
香肠派对 问道2手游
问道2手游