

很多伙伴们的电脑上都在使用谷歌浏览器(Google Chrome)软件,但是你们知道谷歌浏览器(Google Chrome)是怎么设置平滑滚动效果呢?以下这篇文章内容就为你们带来了谷歌浏览器(Google Chrome)设置平滑滚动效果的具体操作方法。
我们先打开谷歌浏览器(Google Chrome),
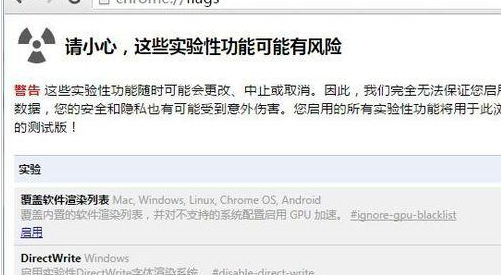
然后会打开chrome浏览器的后台设置窗口,在这里可以对chrome浏览器进行一系列的设置
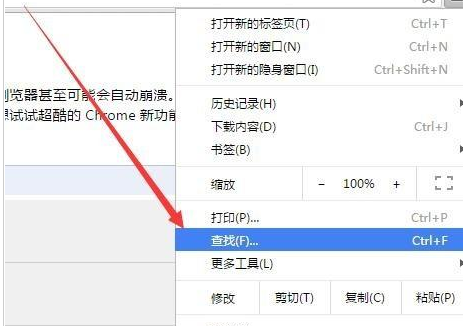
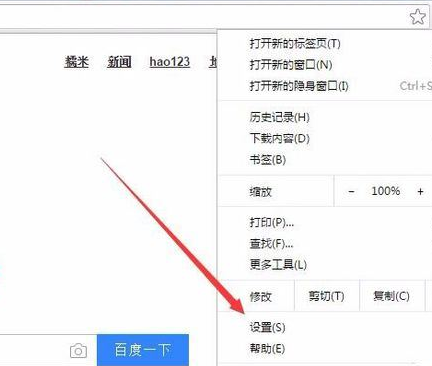
由于chrome浏览器的设置项比较多,我们点击右侧的“设置”按钮,然后在弹出的菜单中点击“查找 ”菜单
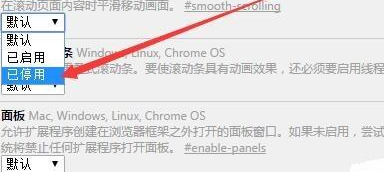
接着我们在弹出的查找文本框中输入“平滑滚动”关键词
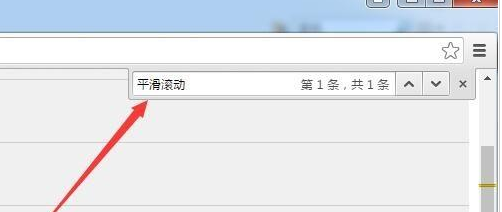
这时就会快速定位到平滑滚动一项,点击下面的下拉按钮,在弹出的下拉菜单中选择“已启用”菜单项
最后我们设置完成后,点击下面的“立即重新启动”按钮,重新启动后,chrome浏览器就可以使用平滑滚动功能了。
看完了上文为你们描述的谷歌浏览器(Google Chrome)设置平滑滚动效果的具体操作方法,你们是不是都学会了呀!
 超凡先锋
超凡先锋 途游五子棋
途游五子棋 超级玛丽
超级玛丽 口袋妖怪绿宝石
 地牢求生
地牢求生 原神
原神 凹凸世界
凹凸世界 热血江湖
热血江湖 王牌战争
王牌战争 荒岛求生
荒岛求生 植物大战僵尸无尽版
 第五人格
第五人格 香肠派对
香肠派对 问道2手游
问道2手游