

ai如何绘制位置示意地图呢?有的朋友可能还不熟悉,下面小编就讲解ai绘制位置示意地图的操作步骤,希望对你们有所帮助哦。
1、新建文档,如图。

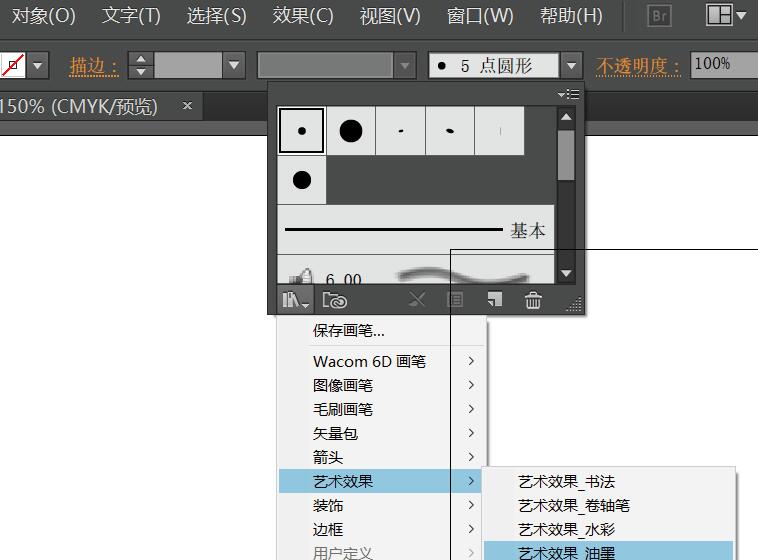
2、选择画笔工具,然后,在画笔工具里设置:艺术效果→油墨,如图。
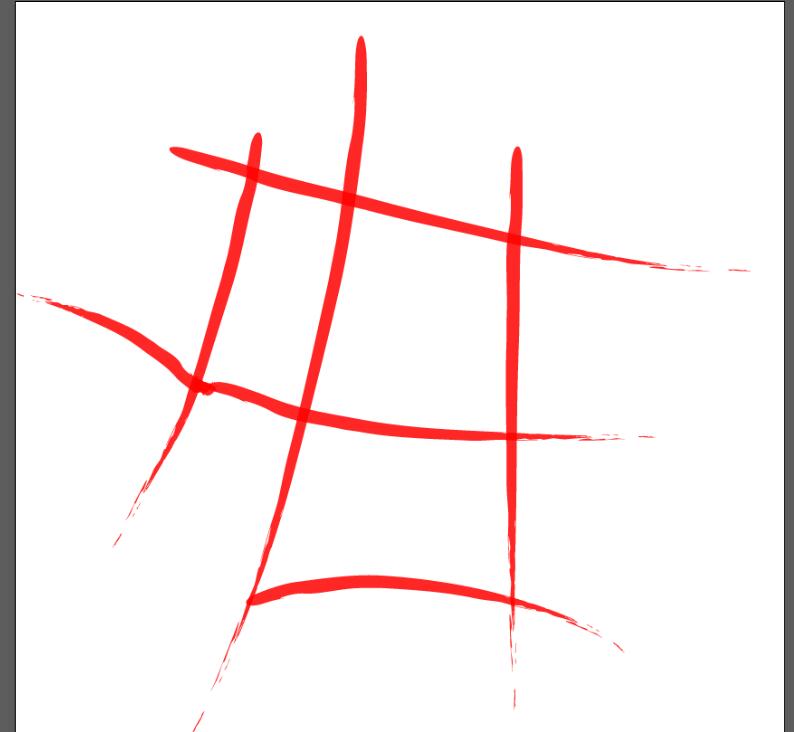
3、设置好后,按示意图位置进行绘制,如图。
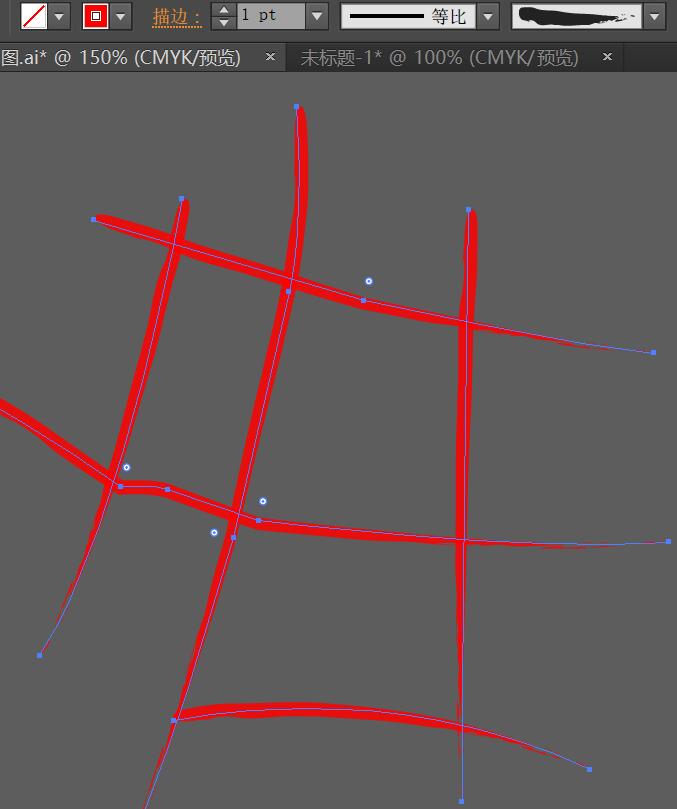
4、【技巧】也可以通过钢笔工具先画出示意图,然后,在样式里去设置:艺术效果→油墨。原理是一样的,如图。
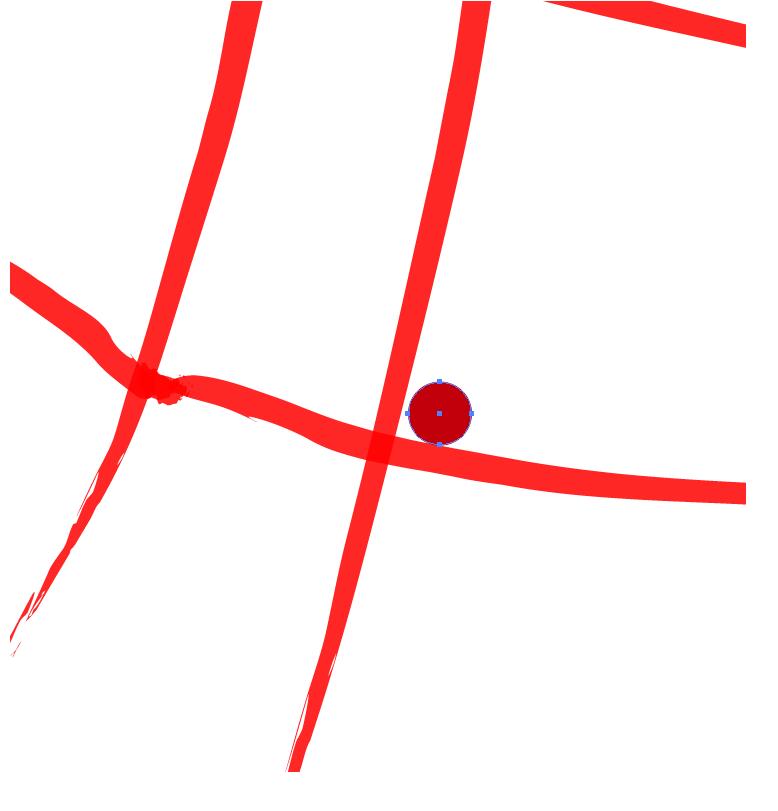
5、画一个正圆,如图。
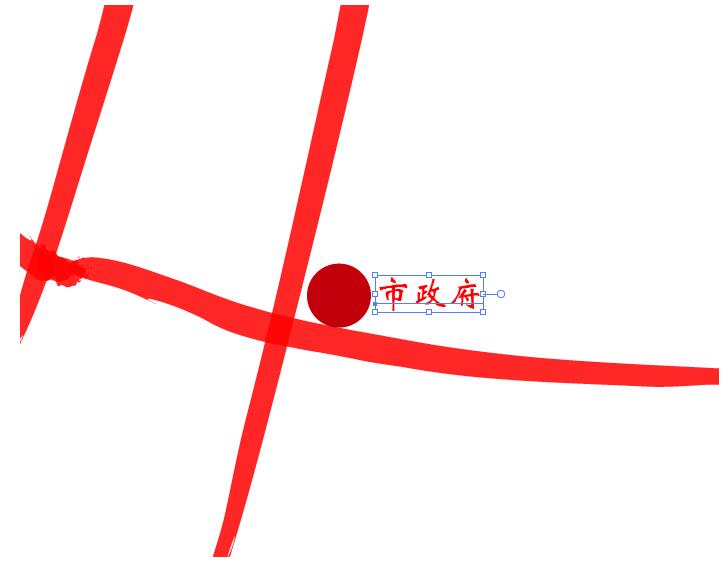
6、标明地点,如图。
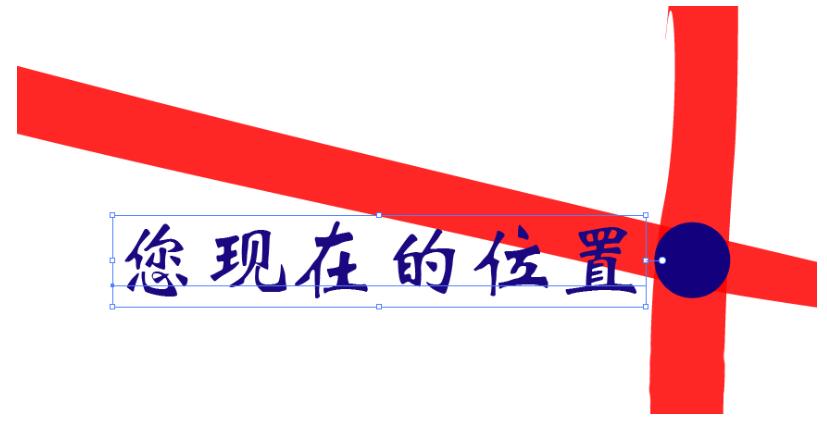
7、再画一个你所在的位置,如图。
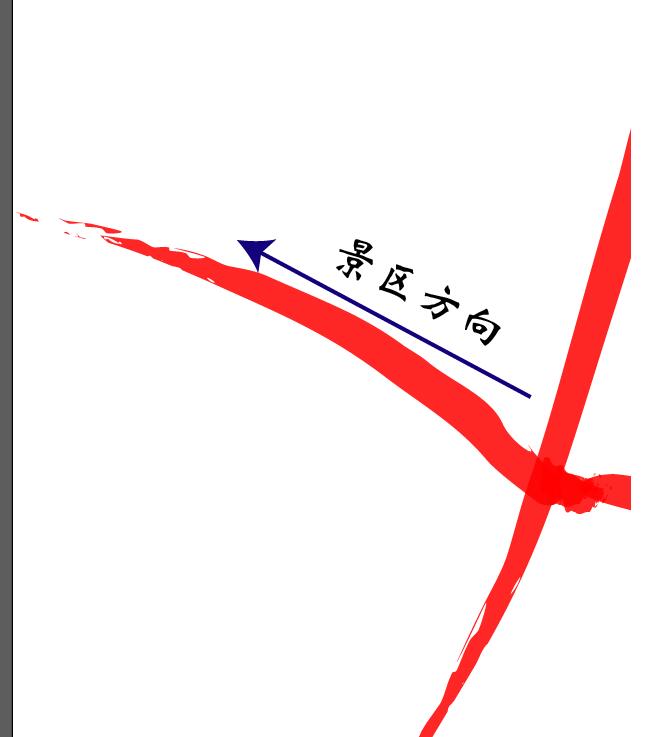
8、景区方向要给人家指出来。
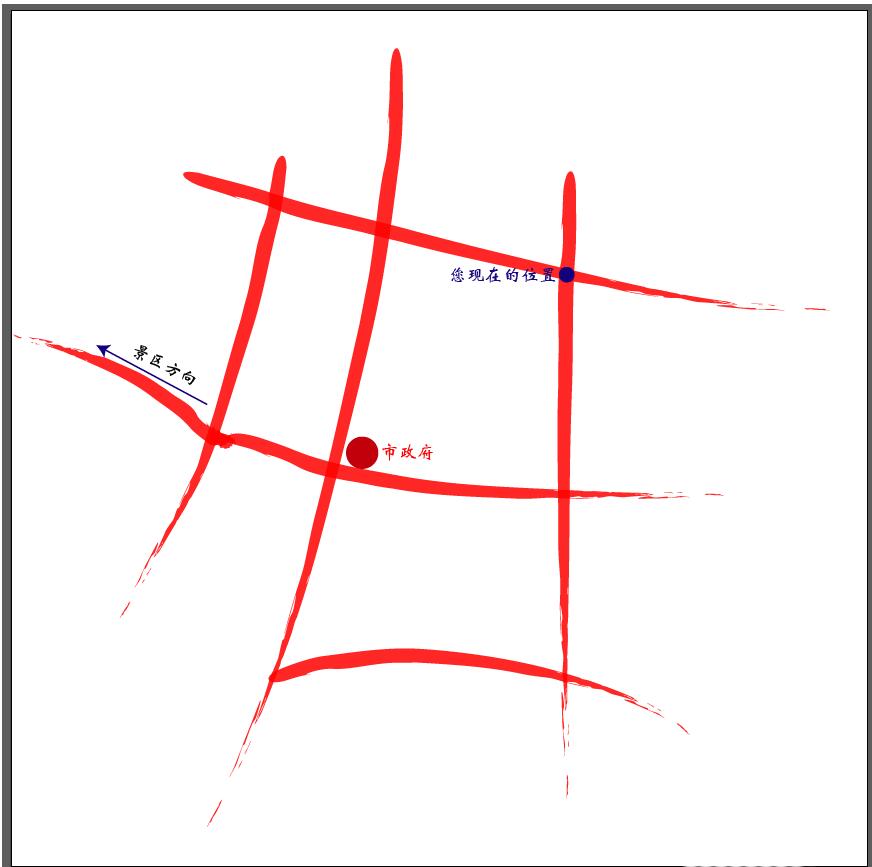
9、调整下各个图层之间的位置关系、大小等,完成最终效果。
上面就是小编为大家讲解的ai绘制位置示意地图的操作步骤,一起来学习学习吧。相信是可以帮助到一些新用户的。
 超凡先锋
超凡先锋 途游五子棋
途游五子棋 超级玛丽
超级玛丽 口袋妖怪绿宝石
 地牢求生
地牢求生 原神
原神 凹凸世界
凹凸世界 热血江湖
热血江湖 王牌战争
王牌战争 荒岛求生
荒岛求生 植物大战僵尸无尽版
 第五人格
第五人格 香肠派对
香肠派对 问道2手游
问道2手游