
很多朋友都已经入手ai软件,但其中有些新手用户表示还不会绘制对称的图标,其实操作很简单的,这里小编分享了关于ai绘制对称的图标的操作步骤,希望可以帮助到大家。
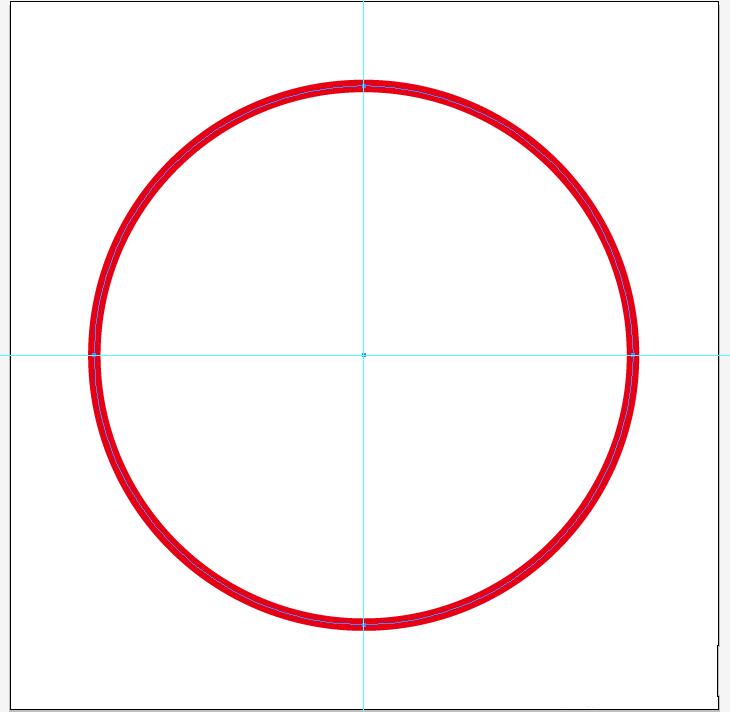
1、新建文档,调出标尺和参考线,画一个正圆,填充色为无,线条色为红色,描边设为100像素,如图。【技巧】绘制正圆时,按住shift+alt,可以从中心向四周绘制一个正圆。
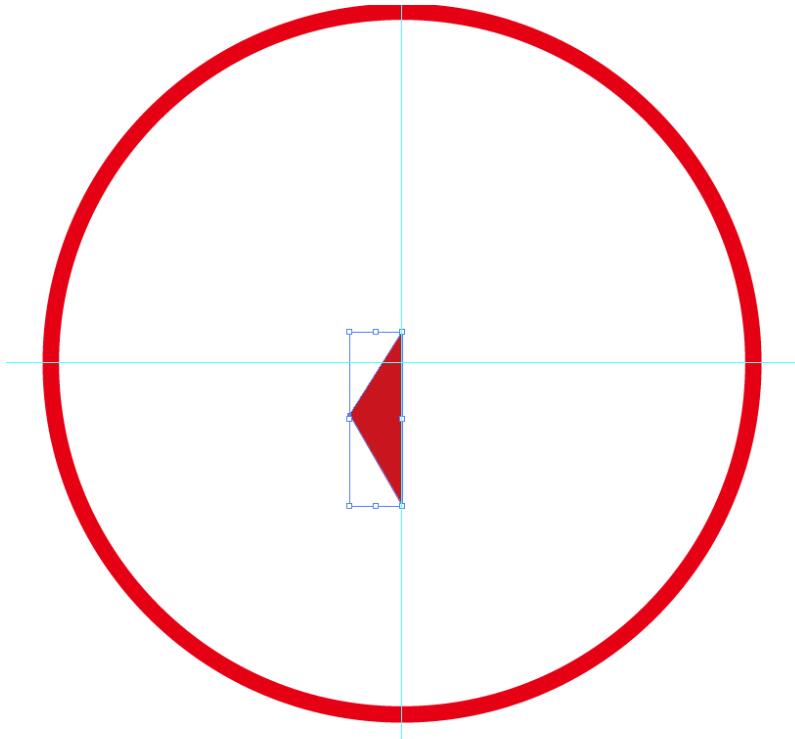
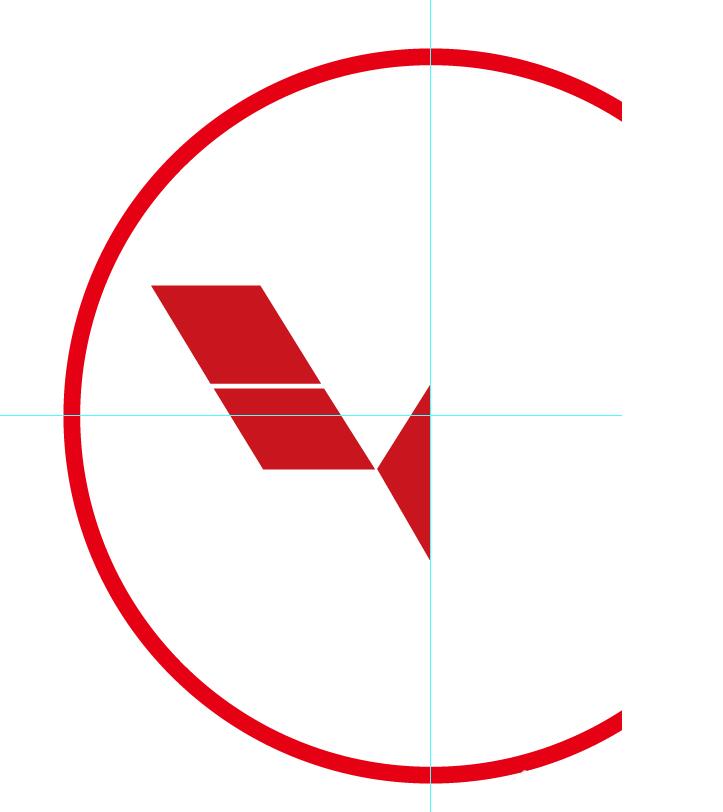
2、将正圆锁定后,在如图所示位置用钢笔工具画个三角形,如图。
3、再用钢笔工具画出左边其余部分,如图。
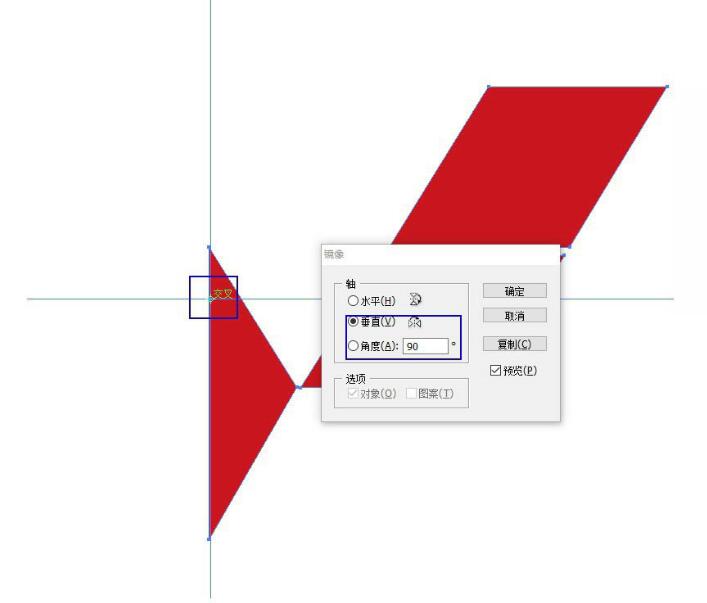
4、将左边部分编组后,选择镜像工具,按住alt键,在如图所示位置点击,在弹出的对话框里,设置如图参数。
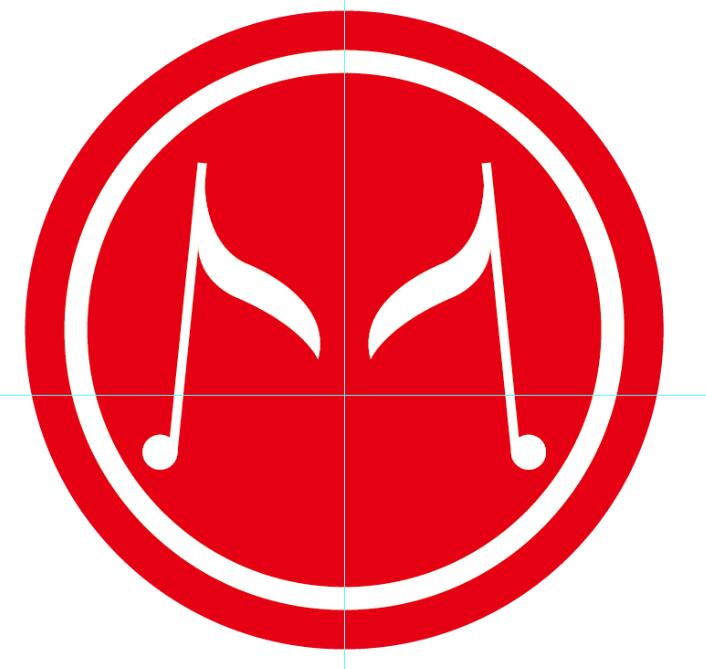
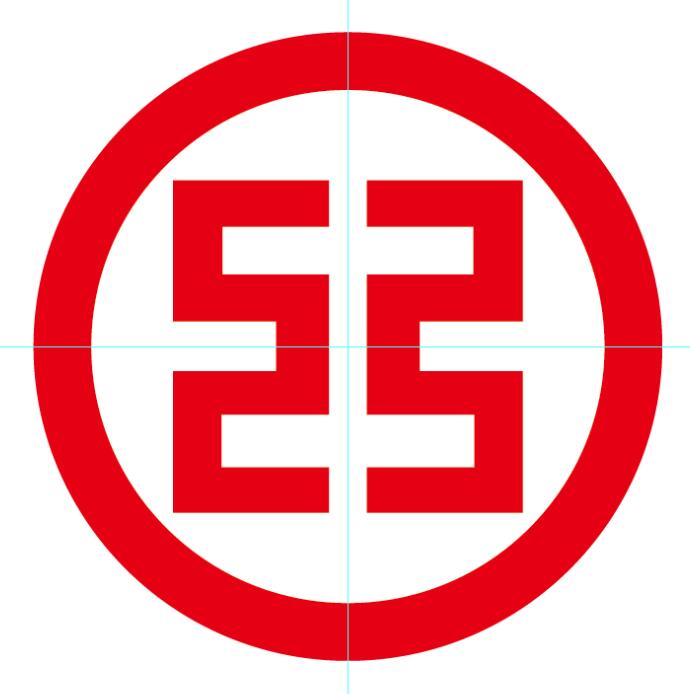
5、确定后,清除参考线,完成最终效果。

6、用同样的方法,还能画出更多的对称图标。
以上这里为各位分享了ai绘制对称的图标的操作步骤。有需要的朋友赶快来看看本篇文章吧。
 超凡先锋
超凡先锋 途游五子棋
途游五子棋 超级玛丽
超级玛丽 口袋妖怪绿宝石
 地牢求生
地牢求生 原神
原神 凹凸世界
凹凸世界 热血江湖
热血江湖 王牌战争
王牌战争 荒岛求生
荒岛求生 植物大战僵尸无尽版
 第五人格
第五人格 香肠派对
香肠派对 问道2手游
问道2手游