
小伙伴们你们知道ps淘宝平铺白底图怎么弄呢?今天小编很乐意与大家分享ps抠图制作白底图的技巧,感兴趣的可以来了解了解哦。
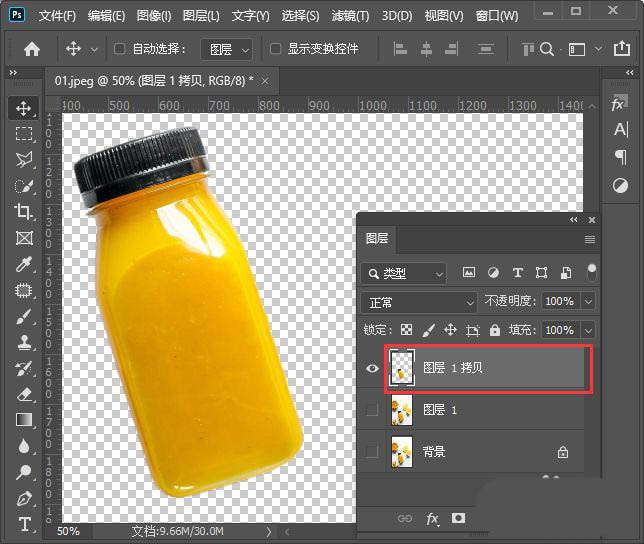
我们用ps打开一张需要制作白底图的图片,按下【CTRL+J】把图片复制一份出来,如图所示。

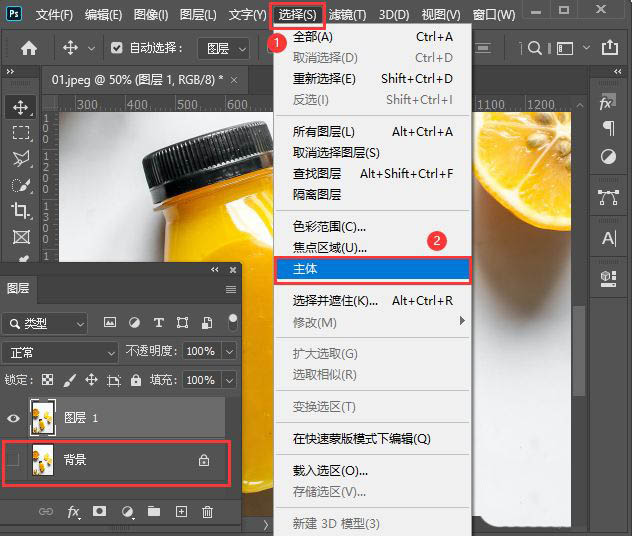
接着,我们把背景图层隐藏起来,然后选中图层1,在【选择】中找到【主体】,如图所示。
当我们选择主体的同时,边缘的图片也被选中了。我们点击【快速选择工具】选择【从选区减去】,如图所示。
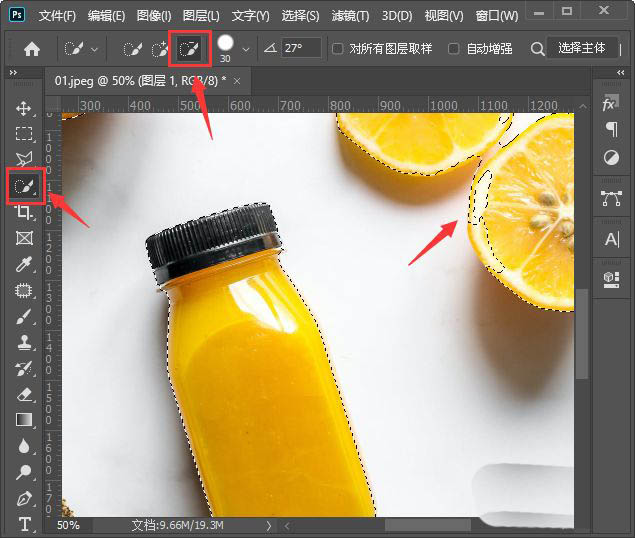
我们把主体边缘多余的部分全部减去之后,在上方点击【选择并遮住】,如图所示。

我们在属性中调整半径和平滑的参数,然后输出到【新建图层】,点击【确定】,如图所示。
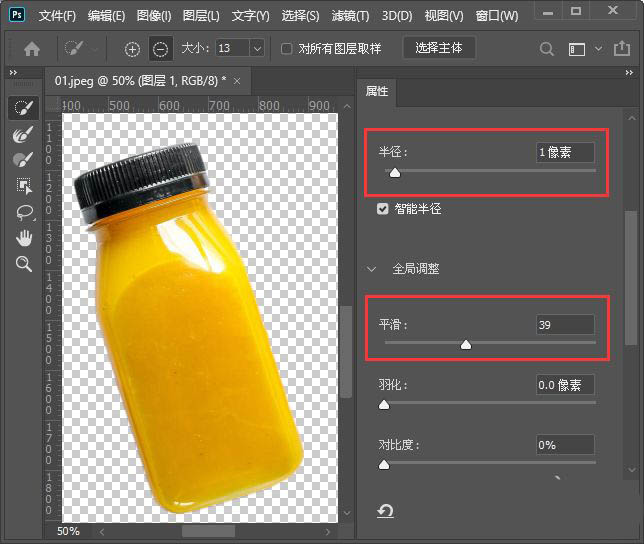
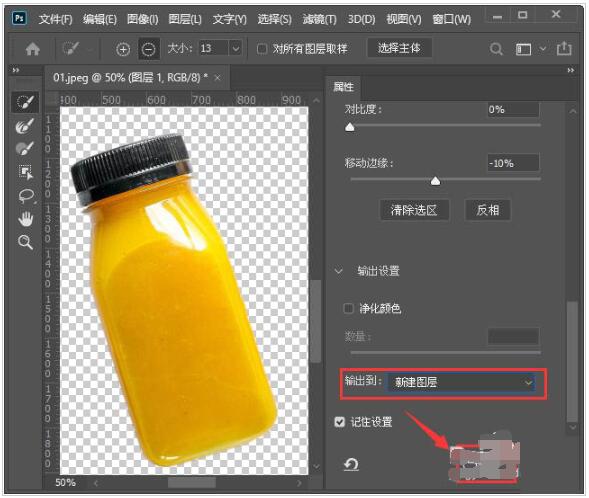
我们现在看到主体的图片背景变成透明的效果了,如图所示。
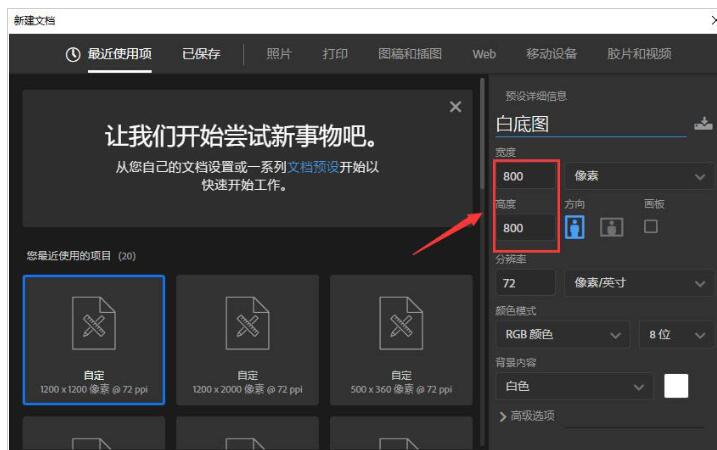
接下来,我们【新建】一个【800*800像素】的白色画布,命名为:白底图,点击【创建】按钮,如图所示。
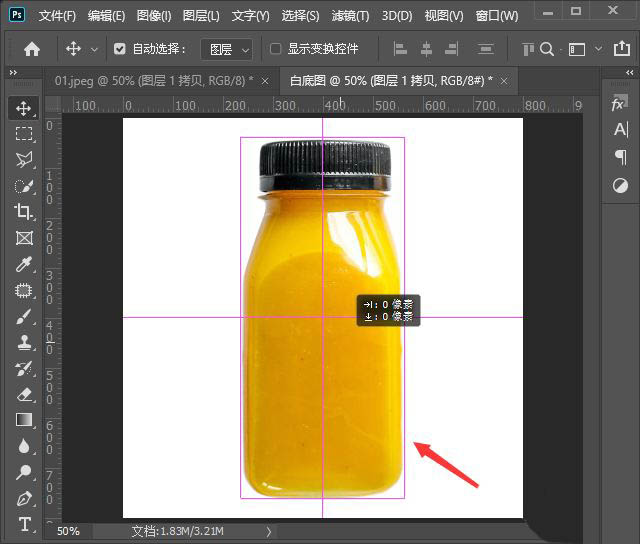
我们把抠图好的图片移动到白色画布上面,如图所示。
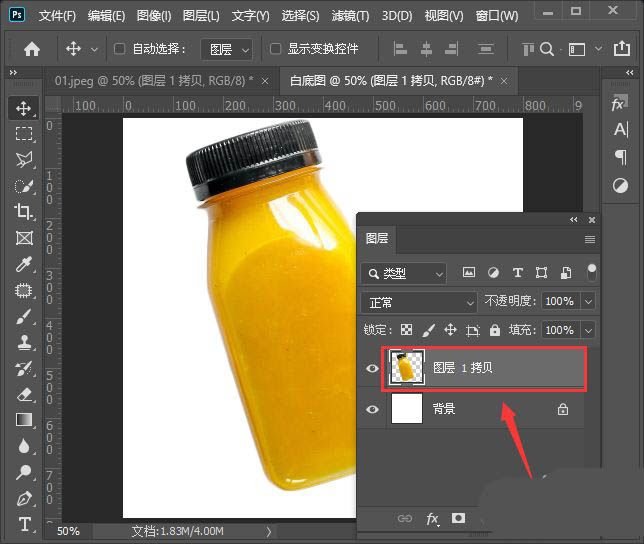
最后,我们按下【CTRL+T】调整好图片,白底图的效果就完成了。
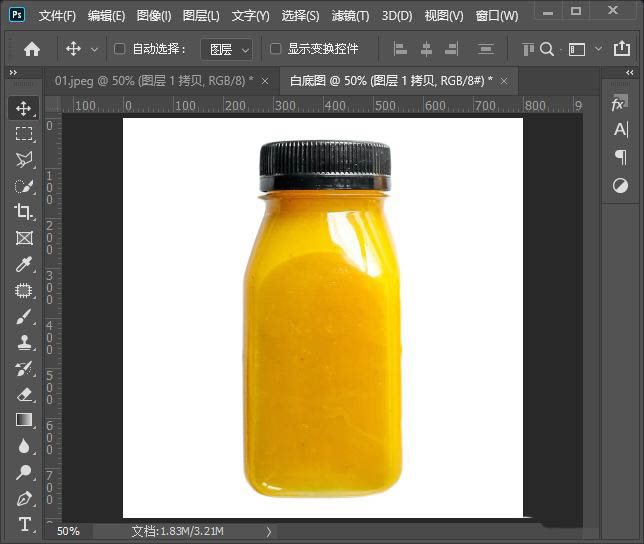
以上就是ps抠图制作白底图的技巧,希望大家喜欢哦。
 超凡先锋
超凡先锋 途游五子棋
途游五子棋 超级玛丽
超级玛丽 口袋妖怪绿宝石
 地牢求生
地牢求生 原神
原神 凹凸世界
凹凸世界 热血江湖
热血江湖 王牌战争
王牌战争 荒岛求生
荒岛求生 植物大战僵尸无尽版
 第五人格
第五人格 香肠派对
香肠派对 问道2手游
问道2手游