
有很多朋友还不知道PowerPoint怎么使用绘图工具,所以下面小编就讲解了PowerPoint使用绘图工具的方法,有需要的小伙伴赶紧来看一下吧,相信对大家一定会有所帮助哦。
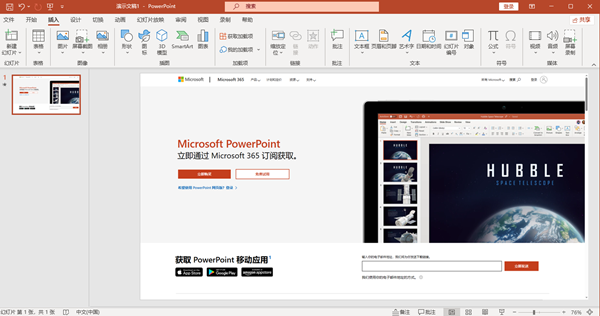
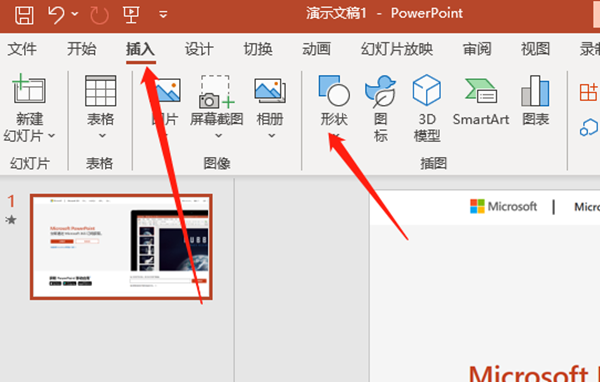
1、首先打开一个演示文稿,并选择您想要添加或编辑图形的幻灯片,如下图所示。
2、然后在"插入"选项卡中,找到"形状"按钮,并单击打开相关的绘图工具,如下图所示。
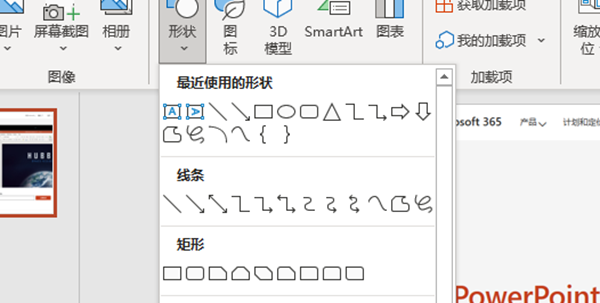
3、接着选择适当的绘图工具,例如直线工具、曲线工具、矩形工具或圆形工具,如下图所示。
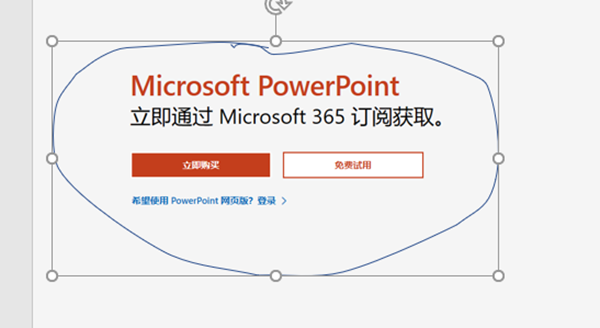
4、最后在幻灯片上点击并拖动鼠标,以绘制所选形状即可,如下图所示。
上面就是小编为大家带来的PowerPoint怎么使用绘图工具的全部内容,希望对大家能够有所帮助哦。
 超凡先锋
超凡先锋 途游五子棋
途游五子棋 超级玛丽
超级玛丽 口袋妖怪绿宝石
 地牢求生
地牢求生 原神
原神 凹凸世界
凹凸世界 热血江湖
热血江湖 王牌战争
王牌战争 荒岛求生
荒岛求生 植物大战僵尸无尽版
 第五人格
第五人格 香肠派对
香肠派对 问道2手游
问道2手游