

premiere是大家工作中经常使用的软件,你们晓得premiere中时间线是怎么放大缩小的吗?下文就为你们带来了premiere中时间线放大缩小的具体操作方法。
第一种方法:
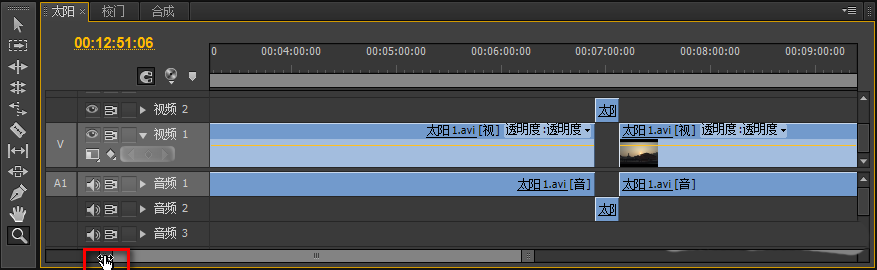
1、我们先找到时间线面板
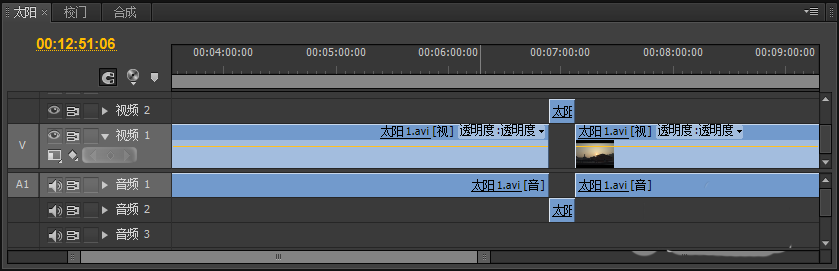
2、然后找到时间线面板中的放大放小的按钮。并点击它
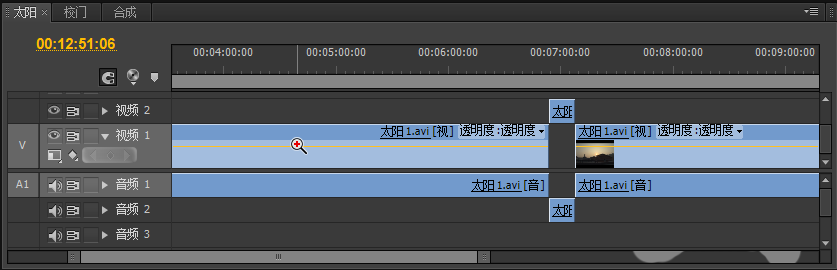
3、然后将鼠标放到视频轨上,这时就会出现放大放小的图标了,就可以对时间线进行缩放的操作了(默认是放大操作,按住“alt”键可以切换放大放小的操作)
第二种方法:
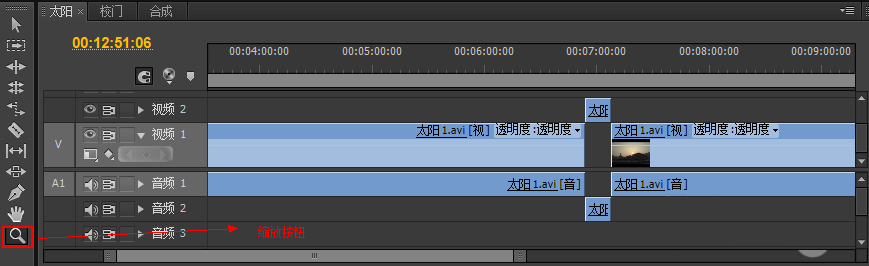
1、我们先同样是先点击工具栏的缩放按钮
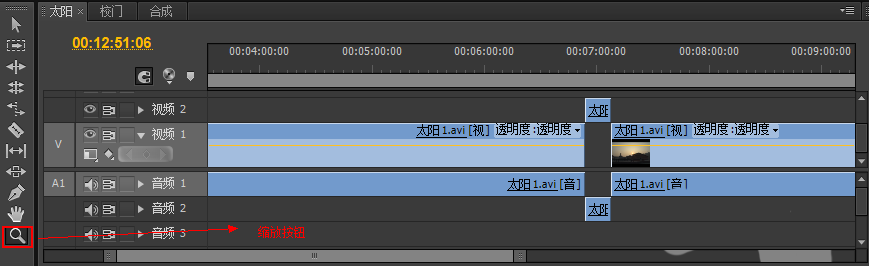
2、然后,点击滚动条上的最左端或者右端。按住鼠标左键不放,这时出现两个方向相反的箭头的时候,拉住鼠标向左或者向又滑动就可以对时间线进行放大缩小的操作了

根据上文讲解的premiere中时间线放大缩小的具体操作方法,你们是不是都学会啦!
 超凡先锋
超凡先锋 途游五子棋
途游五子棋 超级玛丽
超级玛丽 口袋妖怪绿宝石
 地牢求生
地牢求生 原神
原神 凹凸世界
凹凸世界 热血江湖
热血江湖 王牌战争
王牌战争 荒岛求生
荒岛求生 植物大战僵尸无尽版
 第五人格
第五人格 香肠派对
香肠派对 问道2手游
问道2手游