
本章节为你们带来的教程是关于ps软件的,各位知道ps修补工具怎么用吗?接下来,小编就为大伙带来了ps使用修补工具的方法,感兴趣的用户快来下文看看吧。
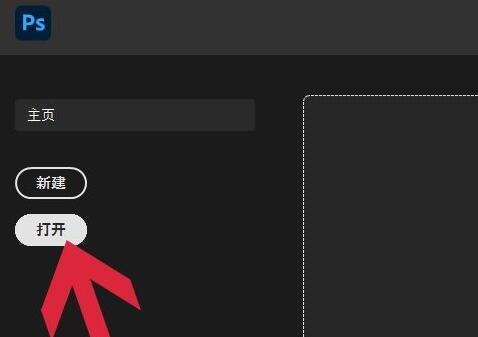
1、首先打开ps,打开想要修补的图片。
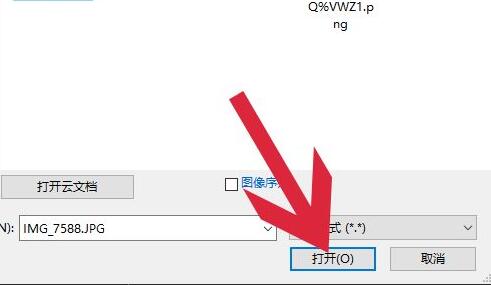
2、在电脑里找到它,点击“打开”
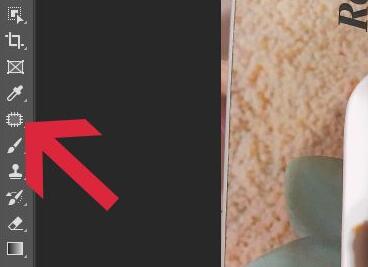
3、打开后,在左边工具栏里找到并选中“修补工具”
4、接着使用鼠标选中想要修补的位置,如图所示。
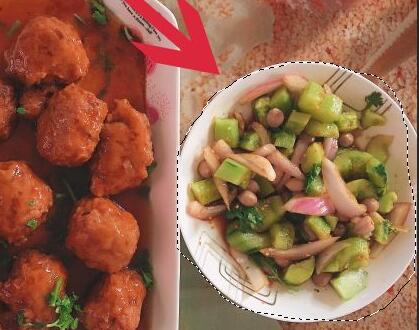
5、然后按住鼠标,将它拖动到修补它的图片位置里。
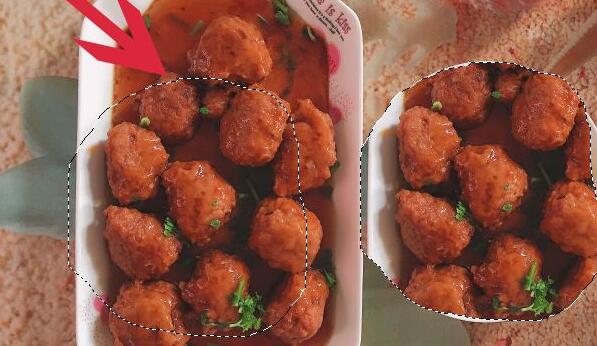
6、移动完成后,松开鼠标就可以完成修补了。

以上就是小编给大家带来的ps使用修补工具的方法,希望本文内容能帮助到大家!
 超凡先锋
超凡先锋 途游五子棋
途游五子棋 超级玛丽
超级玛丽 口袋妖怪绿宝石
 地牢求生
地牢求生 原神
原神 凹凸世界
凹凸世界 热血江湖
热血江湖 王牌战争
王牌战争 荒岛求生
荒岛求生 植物大战僵尸无尽版
 第五人格
第五人格 香肠派对
香肠派对 问道2手游
问道2手游